Showing posts with label Textile Cards. Show all posts

Wednesday, July 7, 2021

Sketching at the Dog Park to Painting on Textile


Why sketch animals from life and not from a photo? I suppose one is trying to capture some particular things that one is seeing at that particular moment in time. Photo references are very helpful but sketching from life is exhilarating.

If a animal is doing an action, there is no way you can sketch it all as it is happening. To help with that, when sketching from life, I employ two different methods. One is to sketch bits at a time and as the animal comes repeatedly back to a similar pose, add another portion of the drawing. The other is to capture the image in one's mind and then put pen to paper. 

Sketching at the Creston, BC, Dog Park


Using the Sketches for further Art Work

Two of the sketches were combined in the hand painted textile piece. It is painted with Procion fibre-reactive dyes on mercerized cotton material.


Beginning the Free-motion Stitching


Orientating the Sketch

When stitching from the bottom to the top, I find it easiest to turn the sketch around too. 

Completed Textile Card Top

With a glue stick, the art work is attached to heavy card stock. This piece doesn't have a lot of detail but those outstretched legs of the dog and the girl who is standing almost disinterested (she actually was scrolling through her cell phone) is what I was wanting to depict. 


Grampa and Grandson Walking the Dog

Painting with dyes, even though these were thickened, they can bleed a bit. The stitching was needed to narrow the images and provide detail.

Textile card 5" X 7"

What I liked about the scene was the brisk movement of the three participants. The man, 'grandpa', slightly bent forward and wearing a plaid jacket were additional details I paid attention to. Otherwise much of the landscape was invented.  

Hopefully you are inspired to get out sketching. 


Friday, April 3, 2020

Two days in an Artist's Life

Two days in an artist's world. Yesterday I was location sketching from the car as it was much too cold to be outside. Today I interpreted two of the tree sketches onto my hand-dye painted fabric using thread sketching. 


I was looking at the tree sketch on the upper right. When I was sewing, I kept moving the sketch right-side up to upside-down depending on which way I was stitching.

 This sketch was done very near where I live. It is one of two remining apricot trees from a very old orchard. There is an apricot tree in one yard and one in the next yard. They are very much appreciated in our neighbourhood as they are beautiful for their shape, blossom and apricot coloured fruit.

Fruit trees are pruned to have a spreading nature. The straight up new growth on top could use a little pruning. The size of the trunk gives us an idea as to it's age. I know some pear trees I painted in the same area were a century old. Looking forward to the blossoms next month!


Sunday, July 7, 2019

Painting with Dyes for Cards


Textile Card by Eileen Gidman


My personal favorite, of this set of 25 cards that were just recently completed, is this goose in the purple and gold. I really love the purplish tingle to the back.

Textile Card Making

At a meeting this morning, I was asked about the steps required in making the card tops. I was surprised myself how many steps there are. Painting the fabric with thickened dyes is the most time consuming but so much fun. Here are the steps to making the cards:

  1. Paint images with thickened dyes onto cotton, linen, velvet and silk fabrics.
  2. Cure and wash.
  3. Iron on 4 1/2" X 6 1/2" heavy interfacing to the back of each proposed card top.
  4. Cut out leaving an additional 1/4" all around for fringing.
  5. Fringe. (I was fringing them outside yesterday when a big gust of wind came. I was chasing card tops all over the neighbourhood, ha, ha!)
  6. Fold card stock in half. 
  7. Glue textile piece onto card top and lay under weight to dry.
  8. Sign card in case the buyer wishes to place the card in a 5 X 7" frame.
  9. Add a back label that tells what it is made with, the artist (Eileen Gidman) and a red maple leaf to signify it is Canadian made.
  10. Package in clear display bag.
  11. Label that it is original and frameable art.
  12. Add price stickers. 


Textile Card by Eileen Gidman
I left the last 1" or so of thread loose on the fisherman's line. I wanted to put a cap on the figure, but when you are free motion stitching so small, there is little opportunity for maneuvering so it looks more like a straw hat. I kind of like how it turned out though.

Textile Card by Eileen Gidman
How did I get such vividness with this purple? All I can say is perhaps using freshly made up dyes and going over the plum in successive layers. I like adding a little mauve to the leaves to suggest the reflective light on the leaves.

Textile Card by Eileen Gidman
 Fruits of the Creston Valley. Most recently we've been enjoying strawberries and raspberries. Cherries are starting.

Textile Card by Eileen Gidman
Some of the new cards available for sale at Creston Card and Stationery . None of these cards have the hand dyed velvet embellishments like the last set of textile cards I created this spring. These cards are unique with more detail in the painted image. There is still additional black thread sketching adorning them.

Textile Card by Eileen Gidman
More of the new cards available for sale at Creston Card and Stationery .


Thursday, December 20, 2018

Textile Cards are for Christmas


Season's Greetings and Wishing You the Best in the New Year.
My hand made textile cards are available locally in Creston, BC at Creston Card and Stationery and the Cresteramics Art Store. As they fit perfectly into a 5 X 7" frame, they make a card and gift in one!


This was my favorite winter season card created this year. The hand dyed fabric with the soft mauves and little blue seemed so perfect for this winter skating on a frozen lake scene. When you are free motion stitching, you are never quite sure how stitched images are going to turn out because it is a little tight seeing beneath the sewing machine foot. I love the 'free spirited' look of the figure in this textile card. 


I started this piece about two years ago when I was teaching a Quilt Group a 'Painting on Fabric' workshop. Instead of completing it as a pot of poinsettias as it was originally intended to be (only the largest bloom was done), I just decided to paint an overall design of blooms. You can see below how some were cut to create cards. Boy was it hard to make the first cut into this fabric. 

This was the original hand painted textile that was reproduced for our Christmas Cards this year. Thank you Rook Designs of Creston, BC for the printing.

Soda soaked fabric painted with thickened dyes ready for 9 cards. Note below, the bunny I stitched on one of them. Do you have any other ideas for additional 'simple' images to be stitched on this dyed background? I think I have two left.


Textile cards for the winter season.

Monday, March 12, 2018

Creating Cards for Spring


Making Textile Cards

My Favorite for Spring
Looking for some new cards for spring? I have a new selection at Creston Card and Stationery, in Creston, BC. You can always contact me if you want something specific. 
Do you want to make some textile cards yourself? Below you will see the start of the process. Click here  or Click here for two other posts about the process of painting with dyes. 

Here the painted dye is wet. I am painting on soda ash soaked cotton which reacts with the dyes so their bond becomes permanent with the fabric.

Sometimes I put the thickened black dye in a bottle with a nib and draw the image first. You can see the bottle in the upper right corner of the photo below.

Oh the excitement of applying the thickened dye to fabric. I find it easiest to work on few card tops at once. That way if I am mixing the red dye I can apply it to several sections while I have some mixed up. You have to work fairly quickly as the setting of the dye relies on moisture so you don't want the fabric drying out. After the dye is applied I then put the fabric in between two pieces of plastic to cure 24-48 hours at 70 degrees F or above.

A length of fabric that has been rinsed, washed twice with Synthrapol which is a detergent that helps keep excess dye from moving to other areas and staining it. I like to iron the pieces dry. Mostly because I can't wait to see how they've turned out!

Another piece of cotton was painted with dyes in a way that may suggest landscapes. I like to use up the little bits of mixed dye colours that I have left over when painting the specific images such as in the photo above this one. Let your imagination run wild.

A window cut out of card stock can be used to choose the composition.

Heavy interfacing is ironed on the back of the fabric where I will be cutting the card top. I use 4" X 6".

Here is a sample of a length of cloth with the interfacing on, now ready for cutting out the card tops. Did you note that two of the corners are lacking an interfacing backing? They didn't make the grade and were culled out. On one the black dye bled into the yellow of the butterfly. This happened as I was too impatient to let the black cure overnight before adding the yellow dye. I managed to get away with it on the larger butterflies as I stayed away from the black line as much as possible. Reminder to self, plan to sketch out images with black dye and cure overnight!!!

This one turned out much better and with additional free motion stitching it should be a card that someone will like as it reminds them of spring. I was quite please with the sky in this one. It was a very light mix of blue, having a lot of the thickener (sodium alginate) in it. I sponged it on. It reminds me of those breezy days in May and June.

Saturday, January 9, 2016

New Year, New Techniques: Mark Making in Ink and Heavy Thread


Mark Making in Watercolour:
 
A new year inspires one to try new things. So at drawing session, I've been using a dip pen with acrylic ink. It dries fast and if I am quick I can add some values in watercolour. The poses last from a minute, at warm up, to about 20 minutes for the longer seated poses so there is no time to get too fussy. It forces you to make decisions about what you will include in your drawing and what you don't have time for.


 With having to dip the pen to replenish the ink, it causes a sketchy look. I find because I work with textiles, when I am painting I am often focused on depicting the fabrics. This chiffon skirt below, draped marvelously and the dots were spell binding. The colour in the background was from a commissioned watercolour I started but abandoned as the composition wasn't to my liking. It could be an interesting start for some added watercolour paint. 


 Look at those side buttons on that jumper. Who could resist focusing on those? Notice I was using fuchsia ink. Feeling colourful that day I guess.


In summary, I like the combination of the ink and watercolour. The acrylic ink which dries quickly seems more suited to this technique than India Ink which I have found has a tendency to bleed. 

 Mark Making with Thread:

When free motion stitching on my hand (dye) painted fabrics I generally use a regular weight polyester thread. Out of the blue I decided to try a heavier weight in the upper thread. The bobbin thread remained the same regular weight thread. I did need to adjust the thread tension slightly. The thread line is NOT smooth (likely due to the differences in thread weights between the bobbin and upper thread) but I like the textural nature of the line.


Cherry tree in Bloom using a heavier weight thread.

Who is peaking out the screen door?

More wrought iron and a hanging basket.

For my friends in Yuma, "Is this the gate to your yard?"

This heavier thread weight worked really well for these flowers.

Something for the recycle bin. Too much of a contrast between the heavy black line of the thread and the light value of the hand dyed fabric for my liking.   
In summary, I think the heavier weight thread suits the more organic images but when thread painting buildings, for instance, I prefer the standard weight sewing thread. Also consider using a lighter thread when the dyed fabric is of a light value.

Thursday, December 24, 2015

Sewing Just Before Christmas

"Merry Christmas Everyone!"
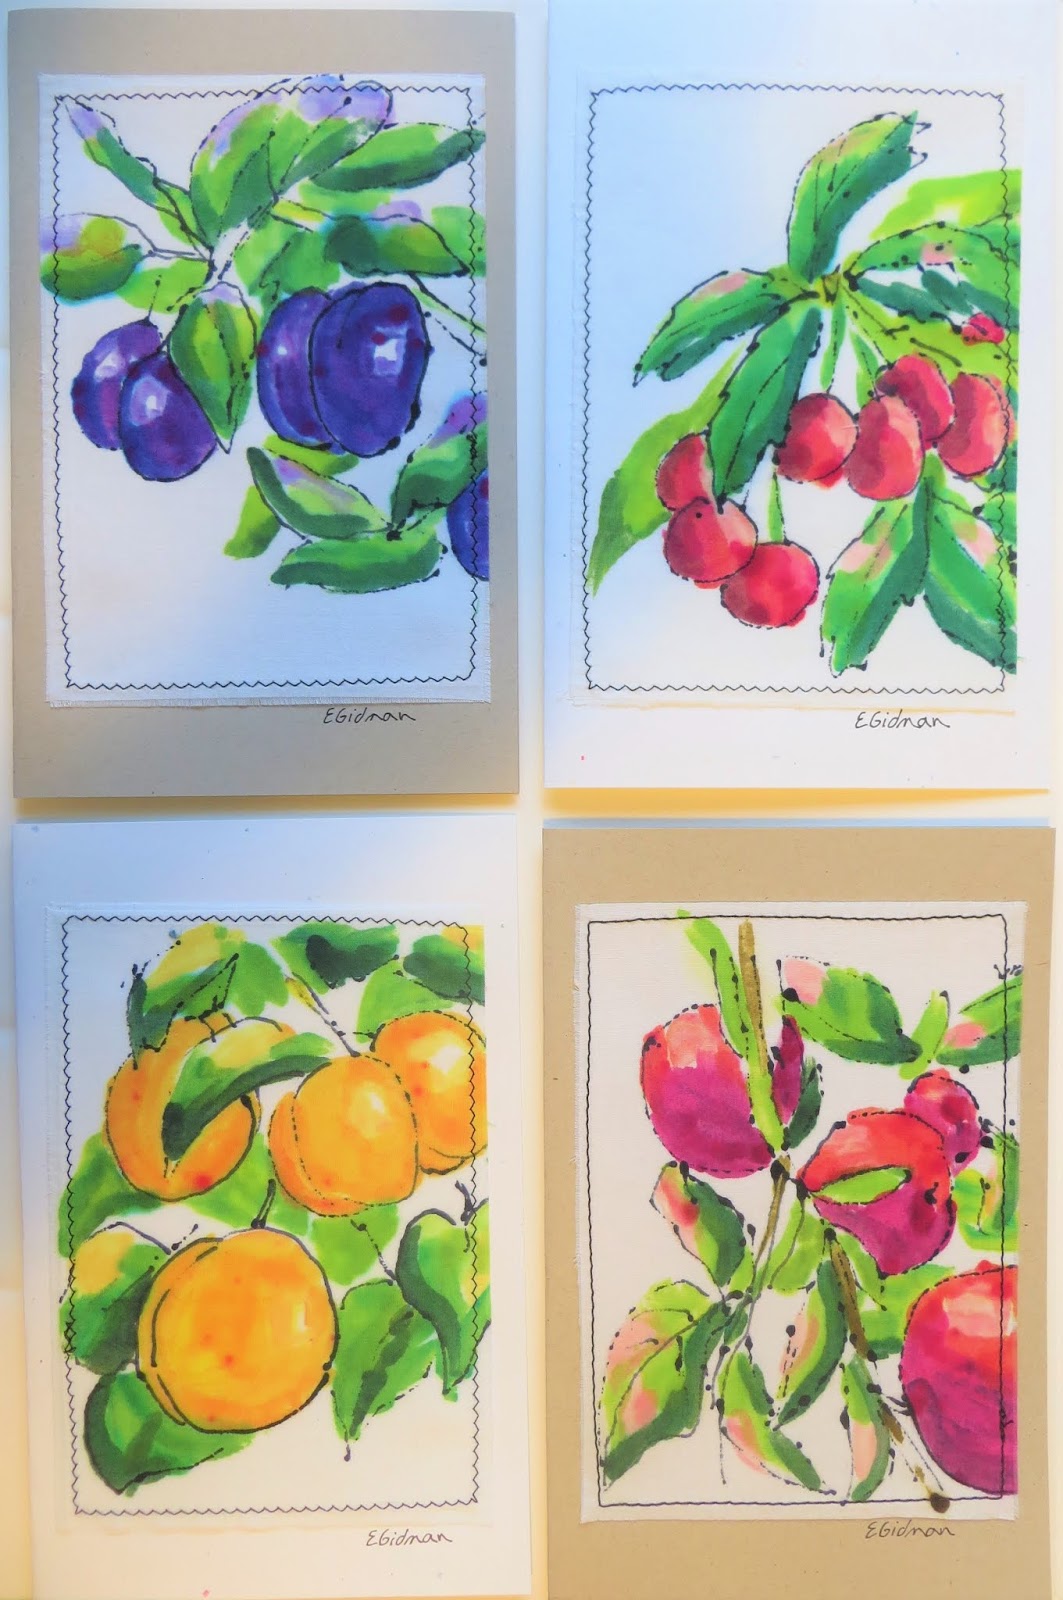
Are you busy in your studio before Christmas? I hope you have been, as I have been having so much fun there. The days have quieted down with the arrival of snow and I find myself, wanting to sew and sew some more. Below is one of my hand 'dye' painted textile cards with 'free motion' thread sketching. For my own Christmas cards I simply had photos made of the textile art and attached the photo to folded card stock.
 
I think the trick in thread sketching is to simplify. "What lines really tell the story?" In this case, I felt, that the shape of an old fashioned wooden shoeshoe was important, as well as the webbing. Notice I didn't put the webbing in the top area, or the boot harnesses, or ski poles. Did you make your own Christmas cards?


Sewing Gifts

Picking fun fabric and fussy cutting makes for some great potholders for gifts.

Potholders:

Okay measure twice and cut once. Obviously I didn't do that here!
 
Coordinating fabric makes two matching potholders but not they are not the same.

Lay the two layers of fabric right sides together. Mine were 8" square. Lay two layers of cotton batting on top. I stitched with a 3/8" seam to be sure to catch all layers. It probably would have been better to change to a walking foot but with attention, a regular foot works.

Preparing a Loop
 Some I added a loop to. Out of the scraps, I cut 1 1/2" strips, folded in the edges and stitched down the open side. The sewn strips were cut to 4" and inserted between the two fabric layers when sewing the perimeter.


A matched set because of the identical paisley background.
Leaving an opening when sewing the perimeter allows the potholder to be turned right side out. The opening was hand stitched closed and then the square was machine quilted.
 
This lovely fabric was purchased at http://crestoncard.com/
All packaged and ready for giving

From the left over scraps I cut 3/8" strips, sewed them together to form strips long enough to tie the two potholders together.

Board Game Bag:

My Scrabble Tiles Bag

 Although this top sample was sewn years ago, I wanted to show it, as the bag has been great. Three features I really like are:
  1. the satiny lining as the tiles slip out easily
  2. the double draw string as it is easy to close
  3. the front pieces is velvet so it absorbs some of the sound as you lay down the bag.
As this bag is a gift for another Scrabble Player, I wanted to incorporate those special features. I didn't take photos as I went along, but this is what I did. I put two layers of cotton together and free motion stitched them together. I used one of my hand dyed fabrics for the outside. To see what was my inspiration for this fabric, click here.
 
 I cut a rectangle from the two sewn layers of fabric, folded it in half lengthwise and sewed up the two sides. Then I sewed a 2" seam across the bottom side seam to create shape to the bottom of the bag. The bag was then turned right side out. Next a lining was sewn using a shiny fabric but I made it a bit longer. The lining was inserted into the outer bag and turned over the top edge of the outer bag to create a casing for the drawstring.
 
After sewing the edge down all around the top, I stitched around the side seam several times in a square shape. After that the stitches of the side seam were undone to create an opening for the string to go into the casing. Strings were threaded through the casing all the way around the bag and back to the original opening. This was then done on the other side with another string. Beads were added.


To keep the lining and outer bag from separating, a few hand stitches were sewn to catch them together at the bottom near the side seam.
There it is. Of course this would make a unique bag for other board game pieces.
January is around the corner and I am looking forward to more time in the studio. What are you planning?